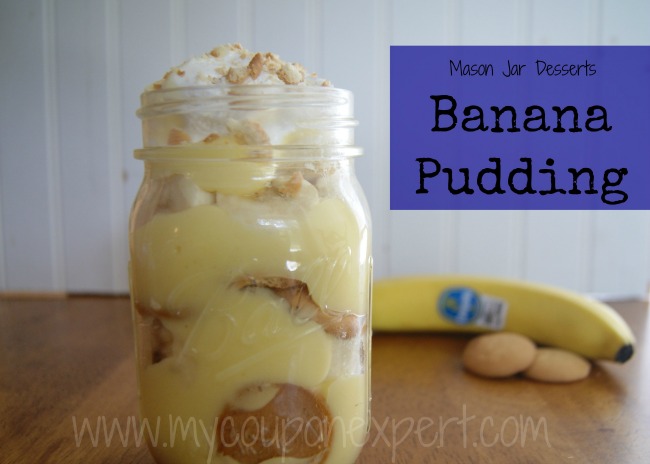
Thrifty Craft Idea!! Super cute Butterfly Frame!
All posts may contain affiliate links and/or sponsored content read my disclosure here. As an Amazon Associate I earn from qualifying purchases. Thank you for your support!
This is such a cute idea and would be super fun to create with the kids to give as gifts! I have the most adorable Butterfly house that my niece Arizona made for me many years ago and it is still very special to me! This butterfly frame will go great right above it hanging on the wall!
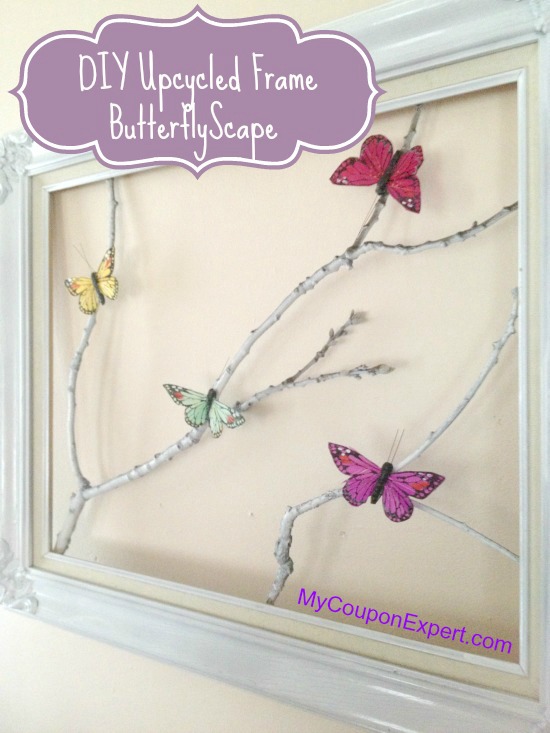
DIY Upcycled Butterfly Frame!!
Sticks and stones may break your bones, but guess what else they can do? They can be the most fun and most frugal craft supply you will ever work with! This week, we are going to get crafty with sticks and create this beautiful DIY Upcycled Butterfly Frame!! Sure that is a long and complicated name, but I assure you this project is far from complicated. So head out to your backyard guys and gals, and gather up all of the twigs and sticks you can find. It is time to get crafty using the bounty that Mother Nature gives us!
Supplies Needed:

- 1 old picture frame. Check out your local thrift stores for one that is large and has some nice detail work on it. You won’t need the glass insert, so don’t worry about if that part is still intact or not.
- 1 can of spray paint in your choice of color
- 1 can of white spray paint
- Handful of sticks in an assortment of sizes. Sticks with multiple branches branching out are ideal.
- Hot glue gun OR staple gun
- Embellishments such as faux birds, butterflies, or flowers
(You can usually score a 40% off or more coupon at Michaels here)
Directions:
1. To begin, lay your sticks out on pieces of old newspaper. Holding the can about 6 inches away, apply a coat of white spray paint. For a rustic look allow some of the wood to show through. For a more finished look, apply a second coat. Set aside.
2. Now, remove all of the insides from your frame. All you will be using is a plain, empty frame. 3. Apply a coat of paint in the color of your choice to the frame. For our sample we used the same color as our branches, but you can use a contrast color if you wish. Set aside and allow it to dry.
4. Once your frame is dry, it is time to attach your sticks. You can do this one of two ways. If they are thin enough and you are using a wood frame, you may be able to staple gun the sticks to the frame as we did. Just flip the frame over, lay the sticks across, and add a staple to each end of the sticks. If you prefer, you can do this same procedure using generous amounts of hot glue.
5. Turn your frame back over and see if you like the appearance of the branches. If not, you can always add more or take some away.
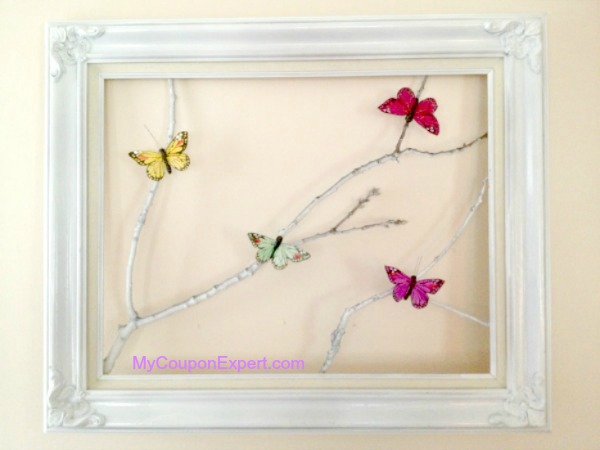
6. Now it is time to embellish. Apply dabs of hot glue to the branches and attach the embellishment of your choice. For our sample, we used faux butterflies we found at our local craft store for around $4 (or less with a 40% off coupon like this one).
That’s it! With just a few supplies and in just a few minutes, you too can have this beautiful Butterflyscape ready to display. The three dimensional design and natural elements tied in make it the perfect home décor item.
The best part? This project can be done so frugally. We found our frame for $1 at a local garage sale, the branches of course were free, the butterflies were $4, and the spray paint was only .97 cents. Our total price for this project was a mere $5.97!
So gather your supplies and give this fun and frugal DIY a try. Don’t forget to check back later in the week with more sticks in tow as we will be learning another fun craft for you to try.
HAPPY CRAFTING!!
Make sure you check in on our facebook fan page or our facebook chat page to say hi and hang out with all of your coupon freak friends! We are having a blast over there!
![]()
************************